
Published: July 30, 2026|⏱️10minutes
By Tommy "The Tally" Kowalski
Home renovation budgets get plenty of lip service. But no rule gets ignored more often once the price-tag comparison begins.
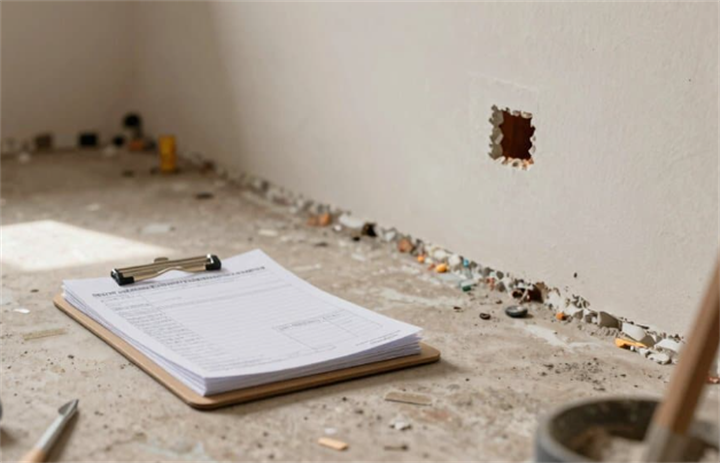
Most quotes are built on a rosy assumption: that everything behind the walls is fine. The real cost structure only reveals itself after the drywall comes down and the subfloor comes up. Hidden pipe corrosion, outdated wiring, structural rot from old leaks—these are the biggest budget-killers in any remodel.
Industry cost trackers and platforms like HomeAdvisor and Angi consistently show that for mid-sized kitchen or bath remodels involving opened walls, change orders from newly discovered defects can easily add 20% to 30% to the final bill. For homes over 40 years old, that number often clears 30% without breaking a sweat. That’s not from one single study—it’s what I’ve seen on hundreds of real change orders.
That’s the reality behind the “30% budget reserve rule.” But let’s clear up a common confusion right away.
There are actually two very different rules that both get called “the 30% rule.”
One says your renovation should not exceed 30% of your home’s current market value. That’s an investment cap—useful, but it doesn’t help you survive a $5,000 sewer surprise.
The other—the one I care about—says to set aside 20% to 30% above your contract price as a dedicated war chest for the unknowns that will pop up once work starts.
This article is about that second rule. I’ll walk you through the most common hidden traps, give you real-world numbers (based on both public data and my own project files), and show you exactly how to set up and manage your reserve so you don’t end up stranded mid-project.
Why I Back the Contingency Fund, Not the “Cap Rule”
Back in my estimating days, nothing annoyed me more than watching homeowners get these two ideas tangled up.
The cap rule is fine for resale math—it tells you not to put a $70,000 kitchen into a $200,000 house. But it does absolutely nothing to answer the urgent question: “Can I actually live through this $45,000 remodel without running out of money?”
The contingency rule answers that. It’s not financial theory—it’s survival.
In my experience, homeowners who refuse to budget a real reserve almost always end up with more stress and bigger overruns. I’d say there’s a 40% to 60% chance that a project with less than 20% buffer will hit a financial wall that makes the owner consider stopping work altogether.
Let me be clear: that range is not from a scientific survey. It’s my personal estimate, drawn from over a hundred jobs and many late-night talks with other contractors. But it’s high enough that I wouldn’t gamble on being the exception.
The Hidden Money Pits – A Close Look
I’m not going to hand you a sterile price list. I want you to really understand how these costs sneak up on you. Each category below is a classic “killer” I’ve pulled from actual change orders. I’ll give you the industry benchmarks, but more importantly, I’ll tell you what your contractor won’t put in writing: the chain reaction that turns a small repair into a budget blowout.
1. Water Supply Lines – The Silent Bleed
Fixing a hidden leak in a galvanized supply line? Public data (like HomeAdvisor’s real-project samples) puts the base cost between $350 and $900. That sounds manageable.
But here’s the kicker: you almost never fix just one section. After that first wall opens and corrosion shows up, any decent contractor will recommend checking the rest of the visible run. In older homes, I typically see at least three additional sections get replaced after the first discovery. That pushes the total well past $2,000—and adds days of downtime while other trades wait.
If you end up replacing the whole main water line into the house, you’re looking at $3,200 to $6,500 in most markets. But here’s what catches people off guard: less than a third of that is materials. The rest is labor—cutting into walls, repairing, painting. Many contractors list “drywall patch” as a separate change order, so it feels like an extra injury. My rule: bundle every repair-related line item into one approval, or you’ll be staring at an $800 sheetrock bill you never saw coming.
2. Drain Lines – The Real Deal-Breaker
Cast iron drains are time bombs in old houses. Industry databases show that replacing a single branch drain in a kitchen or bath typically runs $2,500 to $7,000. If the main sewer line is involved, $10,000+ is common.
But the number isn’t the worst part—it’s the timing.
These problems never show up at a calm moment. They surface right after you’ve demolished the old fixtures and cut into the stack. Now you have no water, no working toilet, and a crew waiting. You don’t have time for three bids—you have to decide now.
I once saw a bathroom remodel change order for a single rusted-through 4-inch cast-iron pipe come in at $5,200. It included “emergency response” and “after-hours coordination.” How much of that was real added cost versus convenience premium? I can’t say for sure. But I can tell you that in projects with no reserve, that premium gets accepted almost every time.
And here’s something rarely discussed: drain repairs often uncover structural damage—rotted subfloor, moldy joists. That’s not the plumber’s job. So the plumber’s $3,000** change order pulls a **$1,800 carpenter’s bill, then a $700 mold remediation invoice. Together, they can swallow a mid-sized project’s entire contingency in one gulp.
3. Electrical Systems – Where Code Costs You
Electrical code is one of the few places with zero wiggle room. You can negotiate on faucet finishes, but you cannot negotiate on ungrounded circuits. Once the wall opens and the inspector sees cloth-covered aluminum wire or missing GFCI protection, you have two options: fix it now, or stop work until you do. Stopping usually costs more than the fix.
Replacing an old panel? Ballpark quotes range from $1,500 to $3,000. Partial rewiring for a typical kitchen might add another $1,200 to $2,250 (based on big-box retailer service estimates). Those numbers are fairly transparent.
What’s not transparent: electrical work almost always forces other trades to come back—drywall patching, paint touch-up, even cabinet adjustments. Every time a homeowner shows me a “clean” quote from an electrician, I tell them to mentally multiply it by 1.3 to 1.5. That’s the real final number.
One more thing: insurance. I’ve handled at least three projects where the insurer sent a formal notice demanding immediate correction or they’d suspend coverage. That’s not code pressure—that’s policy pressure. At that point, your reserve isn’t just for construction; it’s for keeping your home insured.
4. Gas Lines & Venting – No “Good Enough” Option
Gas work typically costs less than drain or electrical—most single modifications fall between $500 and $1,800. But it has a unique feature: it must be done by a licensed pro, and it must pass a separate pressure test and inspection. You can’t save money by finding a “flexible” handyman.
The real pain? Gas issues often appear at the worst possible moment—late in the project, after countertops are in and the electrician has left. Then you call a gas tech who charges not just standard rates but an emergency dispatch premium. From comparing over a dozen late-stage change orders, I’d estimate that a gas fix done near the finish line costs 30% to 50% more than if it had been planned earlier. Again, that’s not a rigorous statistical claim—every job differs—but the pattern is too common to ignore.
5. Structural Collateral Damage – The Reserve’s Final Boss
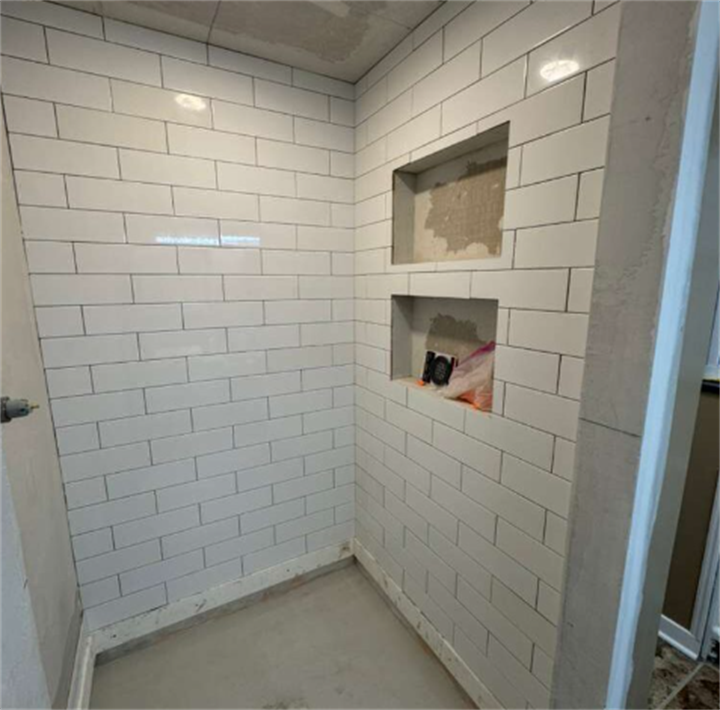
Earlier I mentioned that leaks rot wood. Repairing a rotted bathroom subfloor typically runs $800 to $2,500 from professional remediation companies. Mold or termite treatment can start at $500** and climb past **$5,000 depending on severity.
But the deeper damage is psychological.
By the time a project has already overrun on plumbing and electrical, getting hit with a mold-cleanup bill feels like a betrayal—even if the contractor didn’t hide anything. I’ve seen owner-contractor relationships turn toxic at this point, causing further delays and even legal threats. That hidden cost never shows up on any invoice, but it’s one of the most expensive outcomes of an underfunded reserve.
A healthy contingency isn’t just financial—it’s relationship insurance. If you take nothing else from this article, take that.
How to Turn the Percentage Into Your Weapon
Don't guess your reserve percentage. Here’s the framework I use based on house age, wall-opening scope, and pipe accessibility:
Cosmetic update only – no wall opening: Reserve 10%. But the real move here is a pre-inspection. Spend $150–$300 on a camera scope of your drains—it’s cheap compared to what you might find too late.
Fixture replacement or partial wall opening – no main lines touched: Jump to 15%. Old shutoff valves and corroded fittings are common.
Full kitchen or bath gut: Even for a 20-year-old house, I strongly recommend 20%. Modern plastic pipes don’t corrode, but they can have installation defects or small leaks that only show up under demolition.
House 30+ years old with plumbing/electrical work: Minimum 25%. If the original drains are cast iron or galvanized, I push that to 30%. This isn’t from a large-sample academic study—it’s from watching project after project blow past 20% without breaking a sweat.
How to Manage the Reserve – No Exceptions
Keep the money in your own account. Not the contractor’s. Not as a prepayment.
The only way to release reserve funds is through a change order you approve—with photos and a written explanation. I always tell homeowners: don’t ask your contractor “Will there be surprises?” Ask “What’s your change-order process for a surprise?” If they can’t answer clearly, they don’t get to touch your reserve.
Tommy’s Hard-Nosed Final Word
I’ve seen people treat the reserve as a mental comfort blanket, then mentally re-allocate it to nicer tile or a smarter toilet mid-project. Please don’t.
That 30% is a shield—not an upgrade fund. At least 20 points of it are strictly for disasters you haven’t even imagined. If you end up with money left over, it’s not because you got lucky—it’s because you found problems before they became emergencies. And that, my friend, is the only true cost-hunter’s creed.
FAQs
Q: What if I don’t use any of the reserve during the project?
A: It happens, though rarely. My advice: roll the unused amount into your home’s long-term maintenance fund. Don’t blow it on an impulse upgrade. The reserve existed to protect you from loss—if no loss occurred, you’ve simply preserved your savings, not “found” money for a smart toilet you never needed.
Q: My contractor says, “We’ve been doing this for decades and rarely see surprises.” Can I lower my reserve?
A: No contractor, however experienced, can see inside a concrete-encased cast-iron pipe. I never reduce my reserve recommendation based on a contractor’s confidence. Trust their craftsmanship, but own your financial safety net.
Q: Should I hand the reserve money to the contractor upfront?
A: Never. Hold it yourself. Release funds only on your approved change orders. Letting a large unallocated sum sit in the contractor’s account removes your leverage and weakens your control.
Q: What if a needed fix seems overpriced?
A: Unless there’s an immediate flood or fire hazard, you have every right to ask for a detailed breakdown and get a second opinion. In my experience, a calm cost-review session often saves a meaningful chunk of the emergency spend—how much varies wildly, but the exercise is almost never wasted.
A Special Note on Data Sources
All cost numbers in this article are compiled from:
Public platform databases (HomeAdvisor real-project samples, Angi’s annual spending reports);
Large-retailer service estimate systems;
My own project records and cross-checks with fellow estimators (2020–2026);
I need to be upfront: renovation costs vary enormously by region, material choice, and market conditions. Every number here is a reference range, not a precise statistical release. My probability estimates (40–60% chance of a major shock, 30–50% late-stage gas premium) are personal observations from a limited sample—not scientifically robust figures.
The real value of this article is the mindset: build a financial buffer before you sign anything. Always get local, written quotes from licensed contractors before committing.
Disclaimer
This article is based on Tommy “The Tally” Kowalski’s industry experience and publicly available cost data as of July 2026. It is intended for general budgeting guidance only. All figures are estimates; actual costs depend on location, house condition, materials, and market fluctuations. This does not constitute financial, legal, or construction advice. Always consult licensed professionals before signing contracts or making major expenditures.
References
[1] Angi (2025). 2025 Homeowner Emergency Repair Spending Report
[2] HomeAdvisor (2025–2026). Real-project plumbing cost samples
[3] Houzz (2025). 2025 Houzz & Home Renovation Trends Study
[4] EPA – Mold remediation guidance (general reference)
[5] Author’s personal change-order archive and peer cross-checks (2020–2026)
About the author:
Tommy “The Tally” Kowalski
Having worked as a contractor estimator for fifteen years, now he does only one thing: exposing the tricks in the building materials quotations. He doesn't speak politely, but every word is aimed at saving you money. His creed is: "All those seemingly too-good-to-be-true unit prices actually hide hidden fees that are deliberately not written down."
Recommend:

Soapstone vs. Granite vs. Concrete for Outdoor Countertops: Stains, Cracks, and 10-Year Ownership Costs

New England’s Bedrock Backyard: When You Can’t Dig Down, Build Up with Raised Beds
Outdoor Kitchen Stucco Finishes: Smooth vs. Exposed Aggregate—The Real Cost Breakdown Before You Build

Florida Squall Line Test: Why Your Screen Enclosure Must Resist Wind Suction—Not Just Bugs